Administration / General Codes / Cash Receipt Source Codes
Cash Receipt Source Codes
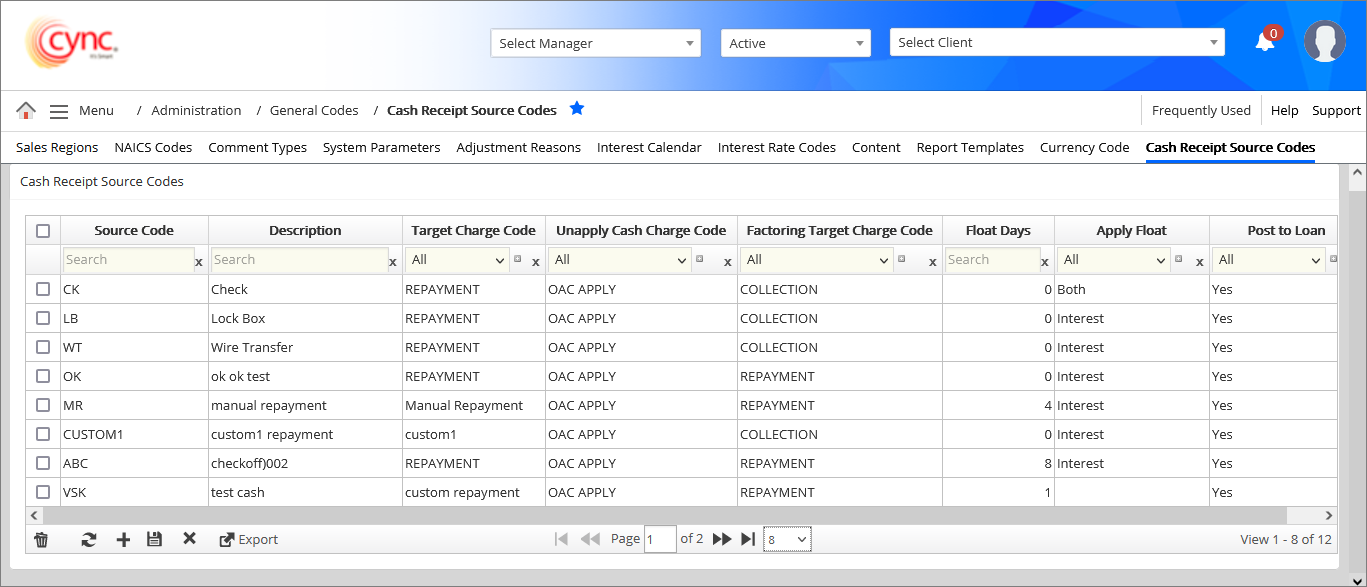
The Cash Receipt Source Codes page allows the user to add, edit, delete and export the source codes.
The page lists the system-defined REPAYMENT charge code i.e., REPAYMENT, where the Repayment can be done via Cash Application or Collateral Loans page.
The page also lists the custom charge codes such as Repayment and Collection, created by the user.
Navigation: Administration → General Codes → Cash Receipt Source Codes
Refer to the screenshot:
Fields and Descriptions
|
Fields |
Descriptions |
|
Source Code |
Allows the user to enter the source code of the cash receipt. |
|
Description |
Allows the user to enter the description of the cash receipt source code. |
|
Target Charge Code |
Allows the user to select targeted charge code of the cash receipt such as Repayment and Collection, from the drop-down list. |
|
Unapply Cash Charge Code |
Allows the user to select any unapply cash charge code for the cash receipt, from the drop-down list. |
|
Factoring Target Charge Code |
Allows the user to select the target charge code for the factoring client, from drop-down list. This field is only applicable for factoring client. |
|
Float Days |
Allows the user to enter the number of float days. |
|
Apply Float |
Allows the user to select the Apply Float option such as Interest, Fees/Charges, Both from drop-down list. |
|
Post to Loan |
Allows the user to select whether the entry should display in Collateral Loans page. |
To add new Cash Receipt Source code, perform these steps:
1. Click the  button to add new Cash Receipt Source code.
2. In Source Code column, enter the source code value.
3. In Description column, enter the description for the cash receipt source code.
4. In Target Charge Code column, select the target charge code from the drop-down list.
5. In Unapply Cash Charge Code column, select the charge code for unapply cash from the drop-down list.
6. In Factoring Target Charge Code column, select the target charge code for the factoring client from the drop-down list.
7. In Float Days column, enter the number of float days.
8. In Apply Float column, select one of the following as a Apply Float Action from the drop-down list- Interest, Fees/Charges or Both.
9. In Post to Loan column, select any of the following options:
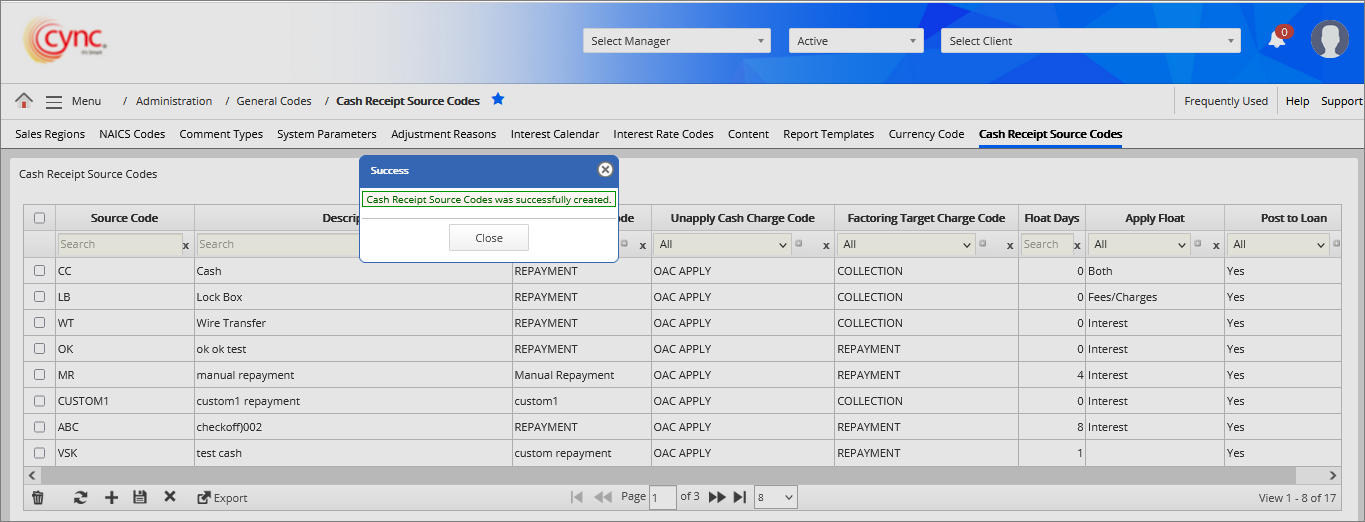
10. Click the  button. The Cash Receipt Source Codes are created successfully and a message “Cash Receipt Source Codes was successfully created” appears.
Refer to the screenshot:
To edit the Cash Receipt Source Code, perform these steps:
1. In Cash Receipt Source Codes page, double-click on the source code row that you wish to edit. The field rows are enabled to edit.
2. Edit the field as required.
3. Click the button. The Cash Receipt Source Codes are updated successfully and a message “Cash Receipt Source Codes was successfully updated” appears.
Refer to the screenshot:

To delete the Cash Receipt Source Code, perform these steps:
1. In Cash Receipt Source Codes page, select the cash receipt source code that you wish to delete.
2. Click the  button. A pop-up window appears.
Refer to the screenshot:
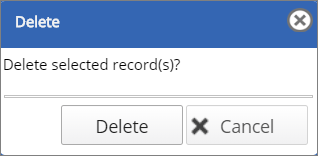
3. Click the ![]() button to cancel the source code deletion process. (or)
button to cancel the source code deletion process. (or)
4. Click the ![]() button. The Cash Receipt Source Code is deleted successfully and a message “Cash Receipt Source Code was successfully deleted” appears.
button. The Cash Receipt Source Code is deleted successfully and a message “Cash Receipt Source Code was successfully deleted” appears.